Instructions on how members can register.
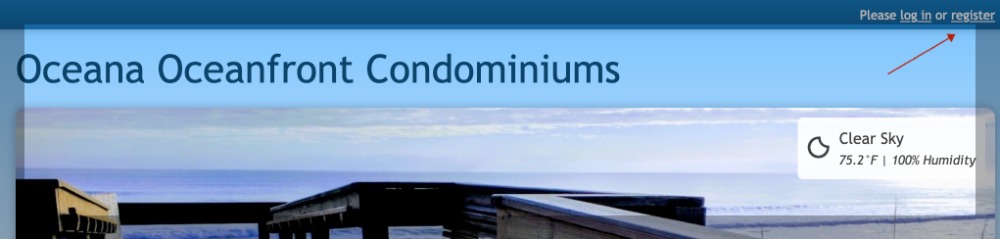
Stay in the loop and receive communications about your community by registering on your community website. Get started by visiting your community's website and clicking on the "register" link displayed in the top right-hand corner.
Start by providing some basic information about yourself, like name, email address, and cell phone number. The email address you enter will be used with your password to form your login credentials.
If there are additional members you'd like to add to your account, you may add them in the "Additional Household Members" section.
Joint members that include an email address will be able to log in and receive communications.
Since an email address is required to log in, members that are added without an email address will not have the ability to log in or receive communications.
To represent all members that make up a community, there are different account types available for members to register with. Each account type has its own set of address requirements.
While some account types may require at least one address inside of the community, others may require at least one address located anywhere, or no address at all.
Depending on the account type you are registering with, you will be prompted to either add an address according to its specific requirements or skip the address section entirely.
If the account type you're registering with requires an address, provide each address that should be associated with your account in the "Address(es)" section. Designate them as being located inside or outside of your community and determine which is your preferred mailing.
Once you have submitted the registration form, your account will typically be placed in a review center for your website administrator to approve or decline. Once a decision has been made, you'll be notified via email.
Adding a member to an existing account
Instructions for adding multiple members to an account.
Once you have a registered account on your website, you can begin adding additional members of your household to your account! This can include different types of members, like spouses, children, relatives, and pets. We've provided step-by-step instructions for how to do this below.
- First, log into the website and click on your name in the top right-hand corner.
- From the drop-down menu, select "Account settings."
- On the next page, click on the "Members" tab.
- Next, you'll click "Add Member."
- Add your additional member's information, and then, click "Save Member." They will then be added to your account!

About your account
Overview of where to log in, what settings are available, and where to find pending notifications.
Now that you have a registered and approved account on your website, you can manage your member settings, account settings, take surveys, and more! Below is an overview of how to get started.
Before accessing restricted pages and exploring your website, you'll need to log into your member profile. To do this, click on the "log in" link in the upper right-hand corner of your website. From here, you'll be asked to enter your login credentials, which includes your email address and password.
The "Member settings" area is where you can manage your member profile information. This area can be accessed by clicking on your name in the top right-hand corner of the website.
- The "General" tab is where you can enter your contact information. This will be the information used for the communications sent to you.
- The "Profile" tab is where you can add a profile photo, employer name, and other information about yourself. The information added here will display in the resident directory (if available) and is a great way for other members to get to know you better! This is also the tab where you can include links to your social media pages.
- The "Password" tab is where you can create a new password for your member profile.
- The "Contact" tab allows you to edit your contact preferences for receiving emails, text messages, What's Happening emails, and forum notifications. The what's happening email frequency can be set to none for a member that does not want the email. It's the member settings selection in the drop-down menu beside your name then click on the Contact tab.
- The "Privacy" tab is where you can choose what contact information you'd like to be posted to your website.
In addition to managing your member profile, you have the ability to manage account information, and other members associated with your account, from the "Account settings" section.
To access this area, click on your name in the top right-hand corner of the website and select "Account settings" from the drop-down menu.
- The "Addresses" tab is where you can edit, add, and delete the addresses associated with your account.
- The "Members" tab is where you can add and delete members on your account. You may also edit the name, profile photo, and add an email address for a joint member that doesn't yet have one included. After adding an email address to a joint member's profile, they will be able to log into their own member profile to manage their contact information and preferences.
- The "Privacy" tab allows you to hide certain information about your account or choose to hide your account entirely. You can also delete your account on this tab.